Intro to Layout Project
- monica41monica41
- Sep 1
- 3 min read
Updated: Sep 15
In this blog, I will be showing the steps that I completed for my letter project in 'Intro to Layout' for the fall semester of 2025.
Day One
I selected the font that I wanted for my letter project. I ended up choosing Freeform 710 BT since it reminds me of greek pillars. I also adjusted the font on InDesign to get the size that I want for the sculpture. This photo shows the letter "M" with the pillars sketched on the vertical limbs of the letter.

Day Two
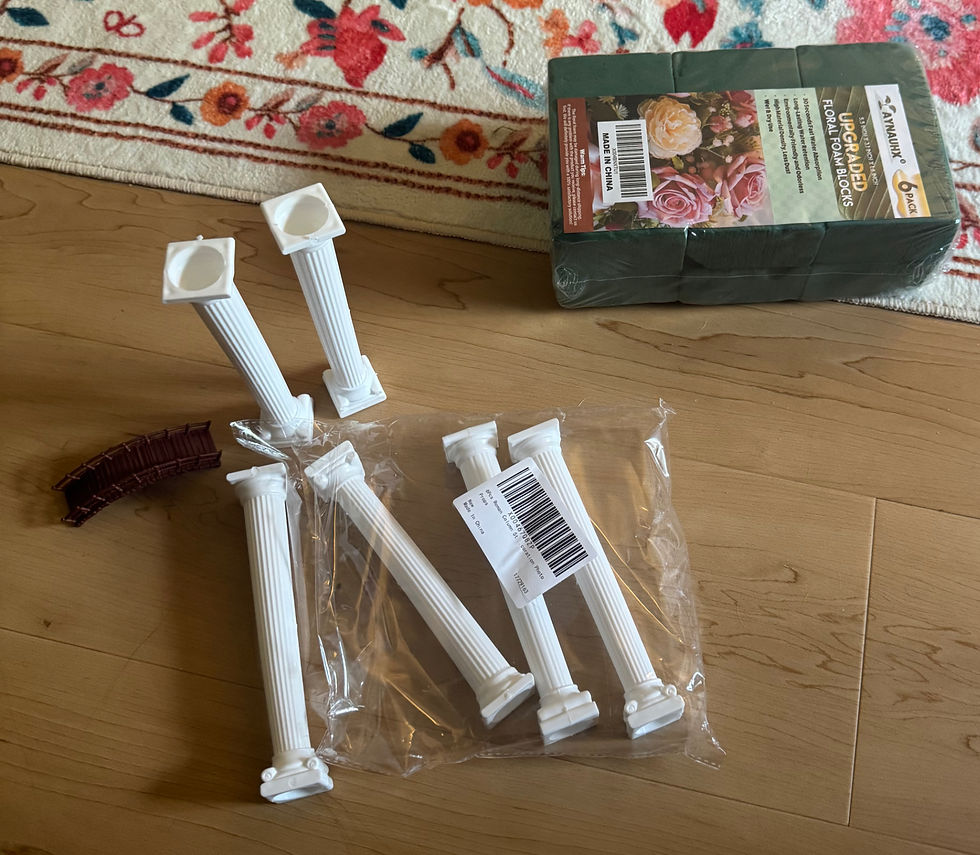
I started acquiring the supplies for my project. The materials that I choose were styrofoam to make my "M" come to life. I also bought plastic pillars and plastic bridges too so it follows the Greek style that I had envisioned. I felt that the curved upper parts of the "M" reminded me of an arched bridge.
Day Three
I was waiting for my supplies to come from the online supplier. I also refined the design to make it what I wanted it to look like when all the supplies came in.
Day Four
The pillars arrived today. The bridges did not arrive yet. I continued to refine my vision of how I wanted it to look. I got green styrofoam-but that would be a challenge to paint and it was not long enough to fit the whole "M" in it. I made a videocall with my parents who assisted in getting the styrofoam and hot wire cutter for the scuplture.
Day Five
My parents came up to bring me supplies since I don't have a car. They brought me paint, more styrofoam, a rasp to help smooth out the letter, a hot wire cutter to cut into the styrofoam, and a foam glue gun to affix the pillars to the letter. I first cut out the printed paper of the letter "M" and traced it on the styrofoam. Then, I used the hot wire cutter to cut through the styrofoam. It started to take shape. I decided to widen the base of the "M" to have a flat surface for the pillars to rest on. I glued these front pieces for the pillars. I then used the rasp to smooth the edges and form the scuplture into its final shape.

These are the blocks of styrofoam that were sculpted into the "M"

This was the initial tracing of the letter with the columns and bridges sitting on it. After arranging this, I decided that the bottoms of the "M" needed styrofoam pieces to widen them outward. So the pillars were mounted on a flat surface, like an architectural pillar would be.

This is the hot wire cutter/ t has a hot metal piece that melts the styrofoam to effectively cut it.
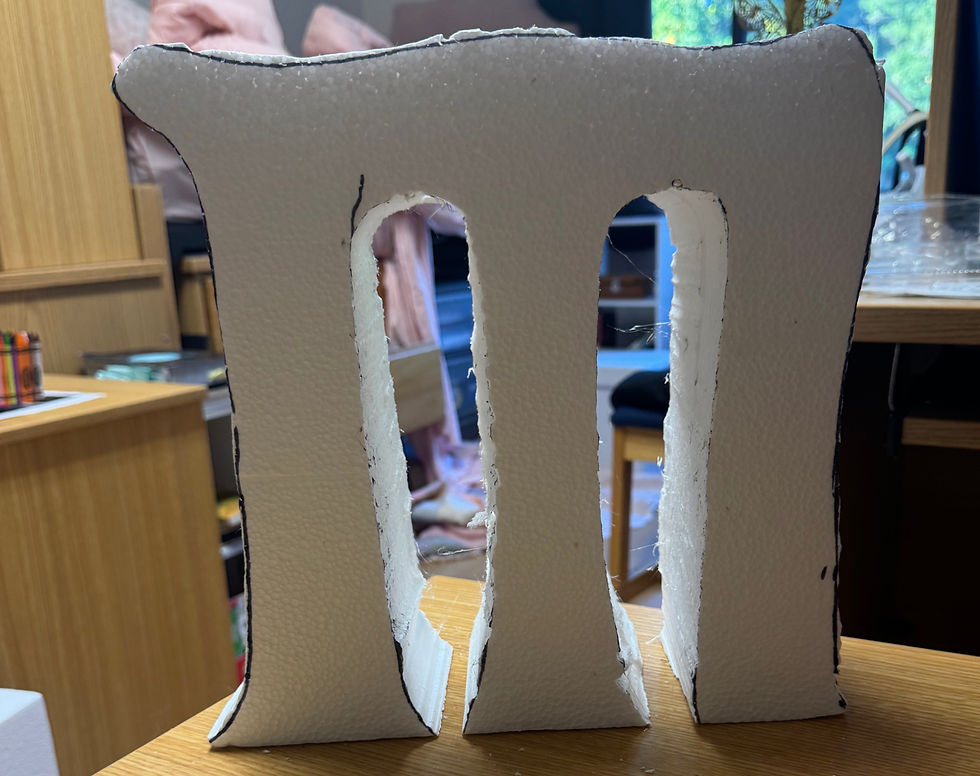
After the rough cutting, the "M " is taking shape, The outlines of the tracing of the paper templates are still seen on the scuplture.

The bases for the pillars are seen affixed in position. The colums will rest on this surface. The sculpture has been smoothed with the rasp and the black tracing lines have been rasped away.
Day Six
I started painting the "M" the colors that I has selected it to be. I choose pink, red and blue because I like bright colors and I think they reflect my bright and lighthearted personality. I had to do multiple coats to make the pink stand out. I had to wait for the paint to dry between coats, and not let them smudge together. Once that was done I was able to glue the pillars and the bridge on to finalize my "M"


This is the final version. The shape mimics several locations on campus. The bridges remind me of my travels this summer, but also refer to the bridge on campus that connects the campus to the island. The columns remind me of Greece which is a place I want to visit, but also represents the columns on campus at Riley Hall.
Overall the project went good the hardest part was definitly was shaping it down to actually look like an "M". I did a greek theme so I did a picture next to the arches and line my "M" to make it look part of it. I really liked doing this project and I would definitly do it again.


Comments